
How to Mix Henna Powder: A Step-by-Step Guide
Mixing henna is very simple, as long as you have the right equipment to hand. In this guide we walk through exactly how we mix henna powder at Henna Boy, from sifting the powder to knowing when your paste is ready to use.
What you need
- Henna powder
- Lemon juice
- Your chosen essential oil, such as cajeput or lavender, and a 10ml bottle to measure it
- A plastic bowl and a plastic spatula
- A sieve and a measuring jug
- Scissors
- Kitchen roll and cling film
- A hand mixer (highly recommended)
A hand mixer is the easiest way to get a really smooth paste. You do not need anything special: ours cost about £10 from a local supermarket.
Step 1: Sift the henna powder
Our henna powder is bought finely ground and cloth triple sifted, so why use a sieve? Many companies vacuum pack their henna powder, and if the packing is very tight it can press the powder into hard clumps.
Putting the powder through a sieve before mixing breaks up any lumps and returns it to a fine powder. This makes your paste smoother and much easier to use, whichever brand of henna you buy.
Step 2: Add the lemon juice
For every 100g of henna powder, we recommend:
- 280ml (about 10 fl oz) of lemon juice
- 10ml of essential oil
Measure the lemon juice and add it to the bowl with the henna. Using your spatula, stir slowly until the mix starts to thicken. Scrape around the sides and the bottom of the bowl to catch any dry powder that has stuck there. Keep mixing until it looks like a large, lumpy mass of henna paste.
Step 3: Fold in the essential oil
Measure your essential oil, add it to the paste and keep mixing. The easiest way to work the oil in is to fold the henna paste over itself.
Tip: do not be tempted to add more liquid if the paste looks a bit thick. It becomes much smoother once you whisk it in the next step.
Step 4: Smooth the paste with a hand mixer
Go around the bowl once more with your spatula, scraping the sides and bottom so all the paste is together, then scrape any henna off the spatula back into the bowl.
Whisk the paste with the hand mixer for several minutes, working all the way around the bowl. The lumps disappear and you are left with a much smoother henna paste.
Step 5: Cover the paste and leave it somewhere warm
Your paste is now mixed and needs time for dye release. We like to cover the paste with a few sheets of kitchen roll first, then cover the whole bowl with cling film. Leave it somewhere warm.
Step 6: Check for dye release
Check the paste after 4, 12, 18 and 24 hours. Different henna powders, and the temperature of the room you leave it in, make dye release happen at different speeds, so there is no single right time.
Henna keeps releasing dye until it reaches a saturation point. After that it starts to degrade and gives a lighter colour. So once your paste is ready, use it straight away or freeze it to keep it fresh.
Ready to apply
When your paste is ready, fill your cones. A carrot bag makes filling easy, and our pre-rolled empty cones save you rolling your own. Freeze any paste you will not use within a day or two.
Prefer to skip the mixing? Our pre-mixed henna cones are freshly made to order, and if you are just starting out, the Starter Henna Kit includes henna powder, cones, essential oil and full instructions.
You can also download our henna powder mixing instructions (PDF) or read the mixing instructions page.
Products in this article


More from the blog
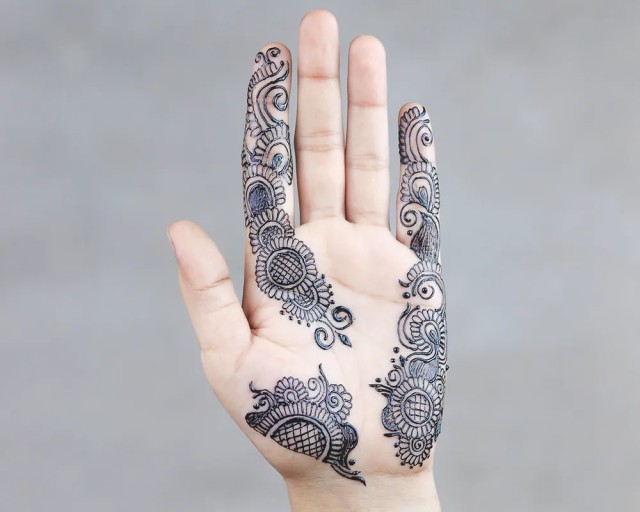
Jagua Body Art: The Natural Blue-Black Alternative to Black Henna
Want a dark, tattoo-like design without the dangers of black henna? Jagua comes from the Genipa americana fruit and gives a natural blue-black stain. Here is where it…
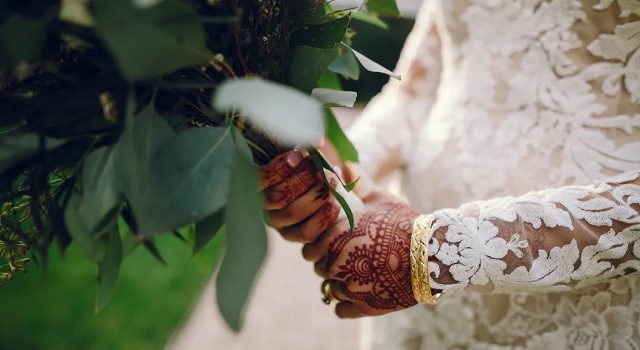
Why Choose Natural Henna for Body Art: The Dangers of PPD and Black Henna
Real henna is safe, natural and stains orange to rich reddish brown. Black henna and chemical cones can contain PPD, ammonia and other additives that cause serious ski…
How to Make Jagua Gel from Jagua Powder
Jagua gives a blue-black temporary tattoo that looks like real ink. Our step-by-step recipe shows you how to make jagua gel from powder at home, plus how to apply it f…